Thursday, September 8, 2011

Tortellini Bake

I am always looking for an easy, quick recipe for those nights when we are too busy to make a really involved meal. P isn't the biggest fan of pasta so we don't have it often but I really like it - especially the ease of it! 

Because of camping this past weekend I didn't have much time to prepare a menu so I just went with some good standby recipes. Trader Joe's has this delicious, cheap tortellini that I love to get. I wanted to make it a little more exciting than just a regular boiled pasta for P so I decided to go with a baked tortellini. He said it was definitely better than just plain pasta - so I think it was a success! It requires very little prep and only a few ingredients. You could definitely amp it up by adding some veggies and meat - I'll probably try that next time.


Tortellini Bake
 
 
  • 1 package tortellini (any flavor); if frozen - thaw pasta before baking
  • 1 jar meat spaghetti sauce
  • Shredded mozzarella cheese (or any italian mixture)
 
Preheat oven to 350 degrees. In a large bowl, combine pasta, sauce and a few handfuls of cheese. Pour into a greased baking dish. Cover with foil and bake for 25 minutes. Remove from oven and stir. Bake covered for another 25 minutes. Sprinkle desired amount of cheese on top and contiue baking (uncovered) for about 5 minutes until the cheese is melted. Let stand for 5 minutes before serving.


CHEERS!
 

Wednesday, September 7, 2011

Camping Cuisine

Every Labor Day weekend P and I pack up our two little cars to the brim and head downstate to Starved Rock State Park for a weekend of camping in the great outdoors. This year was no excpetion - even though the temps were in the 90s for Friday and Saturday! The dogs love the trip and so do we. It is a nice, relaxing weekend where we can catch up on sleep, enjoy each other's company and drink plenty of beers :)
We have gotten pretty good at the camping routine - packing up; setting up camp; planning out the hikes; tearing down camp. The one thing that we wanted to work on this year was the menu. We usually just do the usual grill food (hot dogs, burgers, sloppy joes) and some mac and cheese. But this year I got to spice up the menu. I can't stress enough the importance of having a multi-day cooler when camping. We got a fantastic 5-day cooler that we keep all of our meat and cheeses in and the ice stays frozen through the entire weekend - no opportunity for any meat to spoil!
Here are some of the meals we had this year...

Breakfast Burritos
  • Tortillas
  • Eggs
  • Bacon (cook this the night before you leave and chop it into small pieces; store it in the cooler)
  • Shredded Cheese
Scramble eggs in skillet over camping stove. Towards the end of cooking, add a small amount of chopped bacon to eggs to reheat the meat. When eggs are done, quickly heat up tortillas to make them more plyable. Portion egg and bacon onto tortillas and top with shredded cheese. Wrap and enjoy.

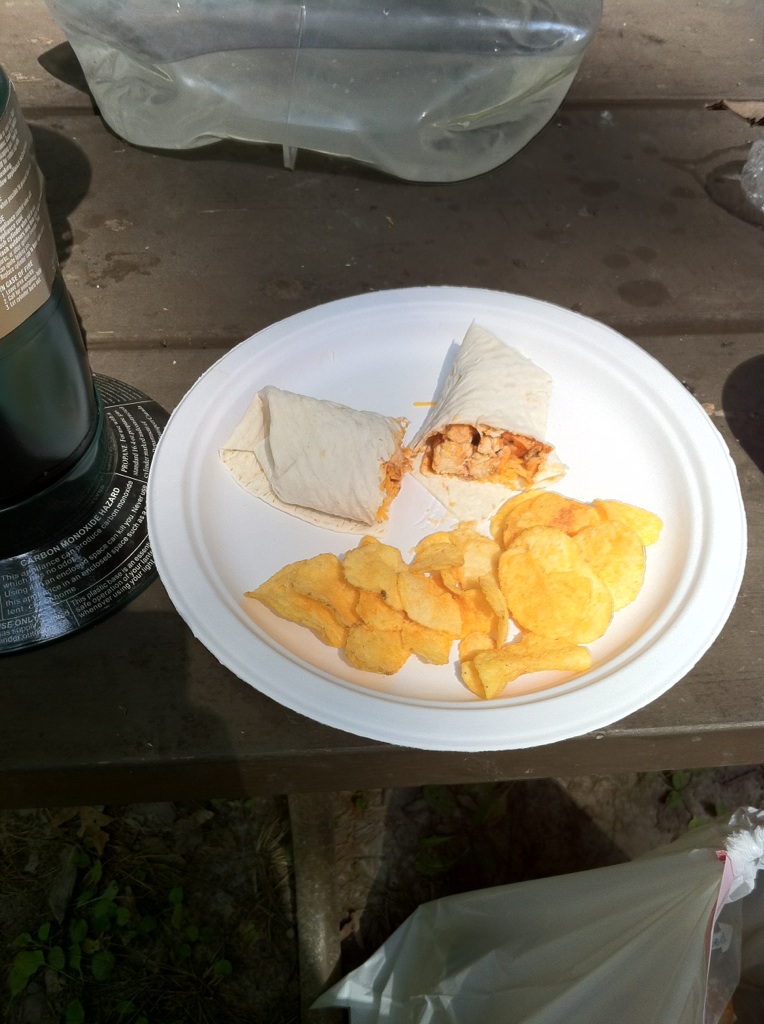
Buffalo Chicken Wraps
  • Chicken breasts
  • Buffalo wing sauce (we use Frank's)
  • Lettuce shreds (you can find this by the bag salads at the grocery)
  • Shredded Cheese
  • Tortillas
Grill chicken breasts. Chop into bite size pieces and dry off with a papertowel. Pour chicken into ziploc bag and add buffalo wing sauce. Coat chicken pieces. Heat tortillas in skillet on camping stove to make them plyable. Add chicken, cheese and lettuce to tortillas and wrap.
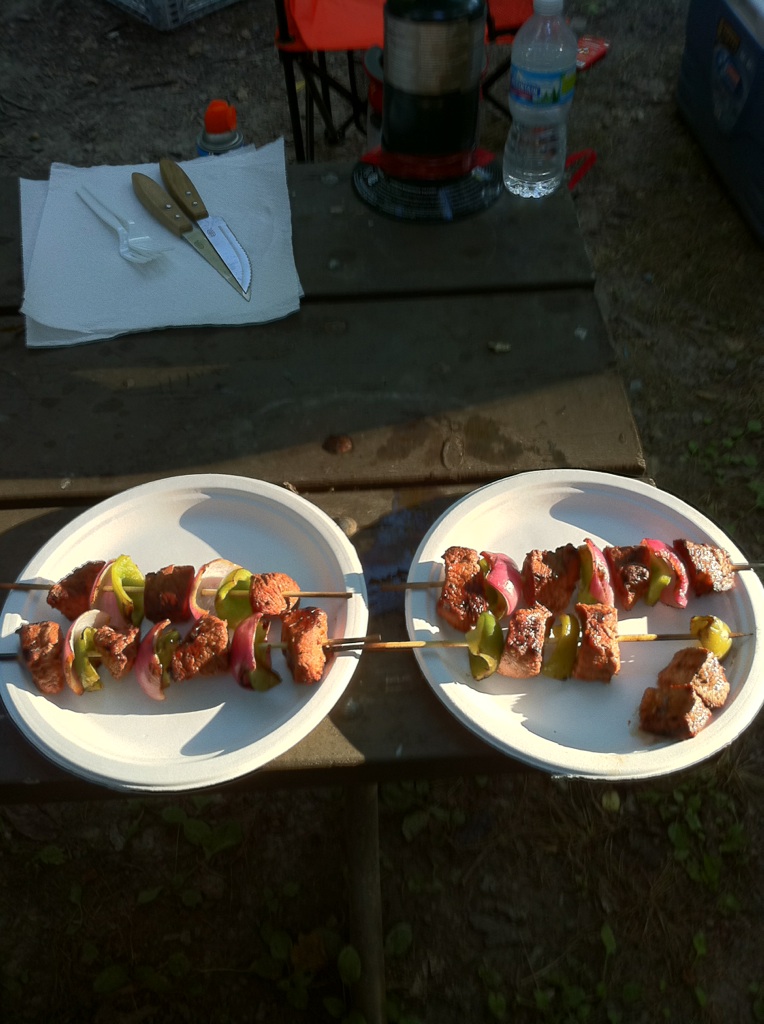
Steak Kabobs
  • Tri tip sirloin steak
  • Beef marinade (we use Stubb's. Best. Marinade. Ever.)
  • Green Peppers
  • Red Onions
  • Skewers
The night before leaving for camp, cut steak into kabob size pieces and put in freezer bag. Add marinade to bag. Put meat in freezer until ready to leave. Chop onions and green peppers and put in cooler - this minimizes prep time at the campsite.
When ready to eat the kabobs, take the meat out of the cooler and let sit for 20 mins. Assemble your kabobs and cook on the grill until at desired doneness.


CHEERS!

Friday, September 2, 2011

Easy Baked Risotto

I love Cook's Illustrated. I really do! But sometimes their recipes are way to daunting and require too much work for what they are - case in point my poor attempt at the Grasshopper Pie for St Patty's day dessert. So yes, while I do love Cook's Illustrated for more entertaining events (family dinners, etc) I think a more fitting magazine for our family is Cook's Country. Made by the Cook's Illustrated folks but with recipes that aren't too hard - especially when you don't have much time on a weeknight.
Risotto has been on my cooking bucket list for about a year now. Aftert I first tasted it I knew I had to learn how to make it. So when I came across the easy baked risotto recipe on the Cook's Country website...I was determined to try it! This took a little bit of prep time - but after the prep you really do nothing while it cooks. Which is good for me when I'm trying to finish laundry or pick up the house while dinner is cooking. P doesn't really like rice all that well but he actually loved this! But really...what is there not to love? Butter, rice, parmesan cheese and more butter. How can that not be good??
We had this as a side dish with an easy and quick grilled chicken breast. I will also say that this recipe makes A LOT of risotto. Like an entire dutch oven full! I'm thinking of making this the main dish next time - add some frozen peas and maybe some chopped chicken or prosciutto. Yum :)

Easy Baked Risotto

Picture credit goes to Cook's Country online
  • 5 cups low sodium chicken broth
  • 1/2 cup water
  • 2 bay leaves
  • 1/2 tsp salt
  • 3/4 onion, minced
  • 2 cups Arborio rice (I got this at Trader Joe's)
  • 3 cloves garlic, minced
  • 1/2 cup dry white wine (I used Chardonnay)
  • 1 1/4 cups freshly grated parmesan cheese
Preheat oven to 400 degrees.
Bring broth, water and bay leaves to simmer in a pan over medium-high heat. Once simmering, cover with lid and put burner to low. While broth mixture is heating, melt butter in a dutch oven. Add minced onion and salt and cook until trnaslucent and lightly brown. Add rice to dutch oven and toast until edges become translucent (about 2 mins). Add garlic and cook until fragrant - about 30 seconds (don't let the garlic burn!). Stir in the wine and heat through until completely absorbed. Pour broth mixture into dutch oven. Cover with aluminum foil - press down on the foil so that it is touching the top of the mixture in the dutch oven. Put lid on. Bake about 20-22 mins or until the liquid is all absorbed. Take out of the oven and remove bay leaves. Mix in the parmesan cheese until it is melted and creamy. Season with salt and pepper.

CHEERS!

Adapted From Cook's Country